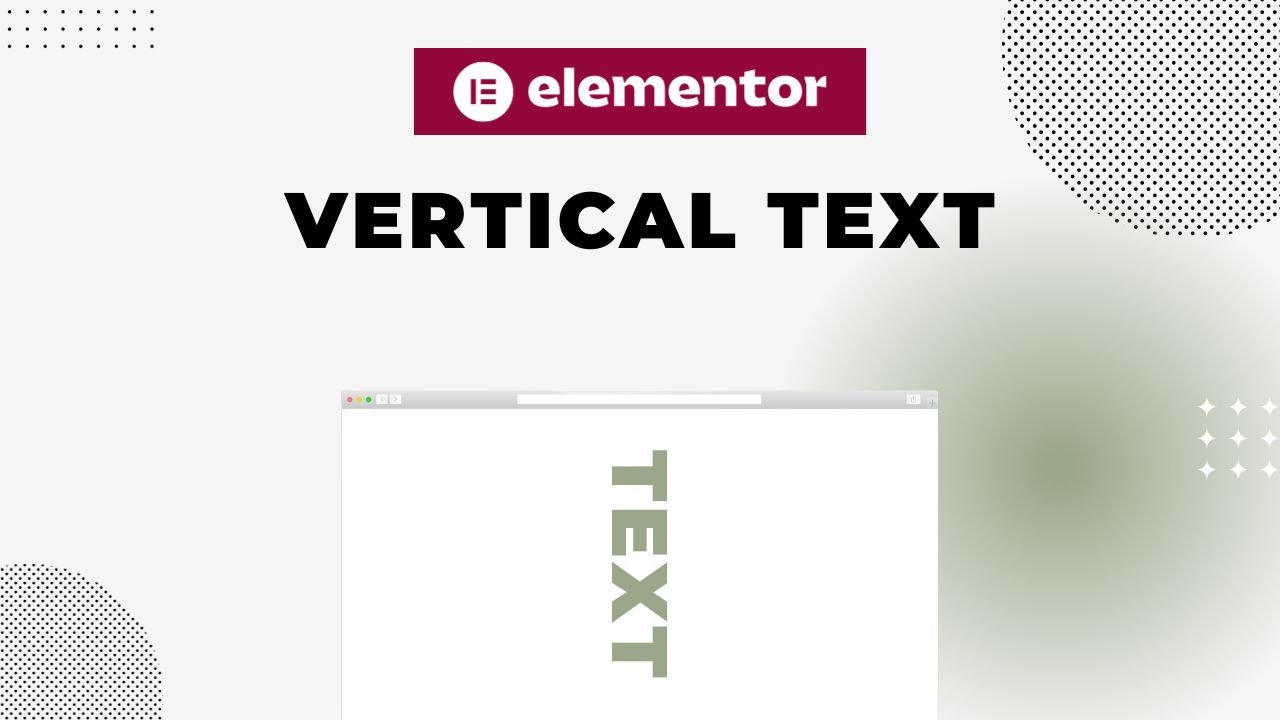
The vertical arrangement of text on a website can be an interesting and unusual solution for your design. If you want to add some creativity to your site, vertical headers are a great choice. Using the popular WordPress plugin, Elementor, it’s quite simple to do this. Here is a detailed instruction on how to create vertical text in Elementor using a header as an example.
Step 1. Creating a New Container
Go to the Elementor editor and create a new container where you want to add a vertical header.
Step 2. Adding the “Header” Widget
Select the “Header” widget from the list of available widgets and drag it into the created section. Enter the text for the header.
Step 3. Applying Vertical Style
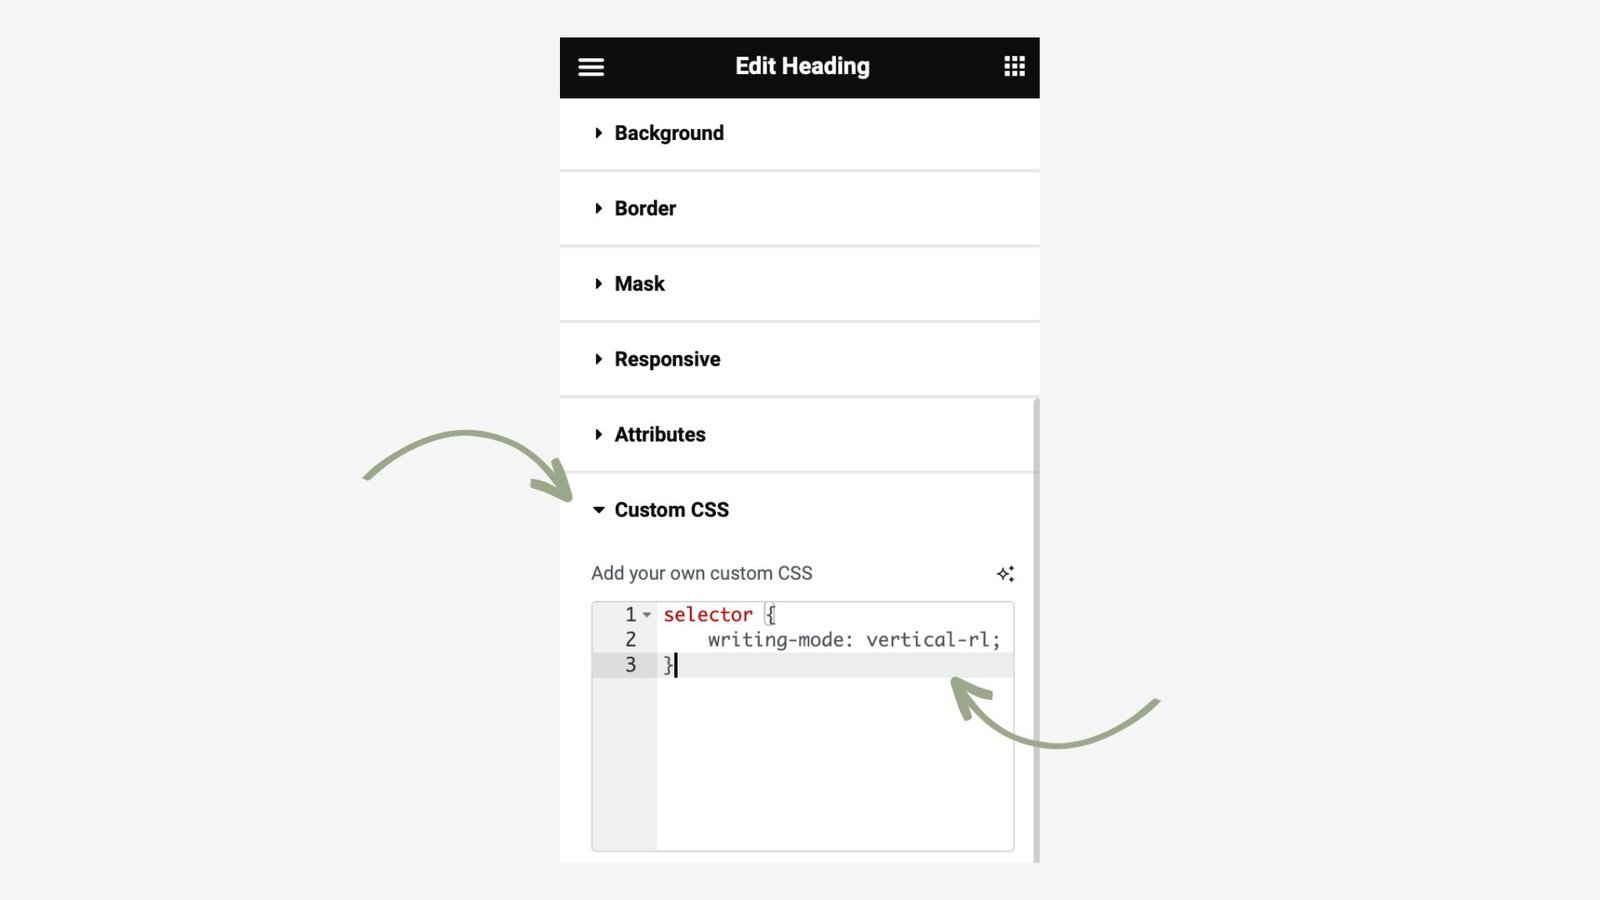
- Go to the “Advanced” section and find “Custom CSS”.
- Add the following code: selector { writing-mode: vertical-rl; }

Step 4. Additional Styling
You can further customize the color, font size, margins, and other parameters for your vertical header in the corresponding “Style” menu sections.
Step 5. Responsiveness
It may seem perfect, and our header is now vertical and in the right place. However, we must not forget about responsiveness. It’s necessary to add a few more lines of code for the header:
@media (max-width: 970px) {
selector { position: static !important; }
selector { writing-mode: horizontal-tb; }
}
In brief, we have created a media query. That means, when the screen width is 970 px, our header changes from absolute positioning to static and returns to a horizontal position.
Step 6. Saving Changes
After you have customized the header to your liking, don’t forget to save all the changes by pressing the “Update” button in the bottom left corner of the screen.
Now you know how to create an interesting and stylish vertical header using Elementor. This method will allow you to stand out among other websites and make your site’s design even more attractive to visitors. Don’t be afraid to experiment and add unconventional solutions to your projects – this will help you create a unique and memorable site.
